
Updating your computer makes it better. This guide helps you through each step. First, you need valid licensing.
Getting ready means having the right stuff. You need to create bootable USB storage. This drive is your portable installer.
Having the right tools makes things easier.
New software makes work better. Use official sources for safety. Reliable keys mean you can relax.
Every step is important for updates.
Success comes from following the guide well. Setting up takes time. This guide has all the important info.
Being efficient is our main goal. You’ll get a faster PC after this.
Key Takeaways
- Prepare empty flash drives.
- Purchase keys from Yoursoftwarekeys.com.
- Modify BIOS boot order.
- Secure personal data backups.
- Complete system configuration steps.
- Verify hardware compatibility requirements.
- Follow onscreen prompts carefully.
Understanding Windows 11 Installation Requirements
First, you need to know the system needs for Windows 11. Make sure your computer fits Microsoft’s minimum specs before you start.
System Requirements for Windows 11
Windows 11 needs certain hardware to work. Your computer must have a 64-bit processor, at least 4GB of RAM, and 64GB of free space. It also needs to support Trusted Platform Module (TPM) 2.0 and have the right graphics card and display.
Your processor should be at least 1 GHz or faster. It should also have at least two cores. Check if your CPU is on Microsoft’s supported list.
Preparing Your Computer for Installation
To get ready for Windows 11, first check for software updates. Make sure your antivirus is current. Back up your important files to an external drive or cloud storage.
Check if you need to upgrade your RAM. If it’s less than 8GB, adding more can help. Also, make sure your device is clean from malware for a smooth install.
By knowing and meeting the Windows 11 system requirements and preparing your computer, you’re ready for a successful install.
Choosing the Right USB Drive
Choosing the right USB drive is very important for making a Windows 11 installation media. The USB drive must meet certain requirements for a smooth installation.
Recommended USB Drive Specifications
A good USB drive for Windows 11 should have some key specs. USB 3.0 or later is best for fast data transfer. It should also fit your computer’s USB ports.
How Much Space Do You Need?
You’ll need at least 8GB of space for a Windows 11 installation media. But, using a bigger USB drive is better. It can hold extra files or drivers you might need.
| USB Drive Specification | Minimum Requirement | Recommended |
|---|---|---|
| Storage Capacity | 8GB | 16GB or more |
| USB Version | USB 2.0 | USB 3.0 or later |
Downloading the Windows 11 Installation Media
Installing Windows 11 starts with downloading files. This step is key. It makes sure you get the latest version.
First, go to the Microsoft website. Microsoft has a special section for Windows 11. It’s easy to find the files you need.
Official Microsoft Website
Visit the official Microsoft website to download Windows 11. You’ll find the latest version and how to download it. Make sure you’re on the official site to stay safe.
On the Microsoft website, find the Windows 11 download section. It will help you download the right version for your computer. Make sure to follow the instructions well.
Media Creation Tool: A Quick Overview
The Media Creation Tool helps you download Windows 11. It also makes a bootable USB drive. This tool makes getting ready for installation easy.
The Media Creation Tool automatically finds your system’s architecture. It downloads the right version of Windows 11. You can also make a bootable USB drive with it.
To use the Media Creation Tool, download it from Microsoft’s website. Then, run it and follow the steps. It’s easy to use, even if you’re not tech-savvy.
Creating a Bootable USB Drive

Making a bootable USB drive is key to installing Windows 11. It stores the Windows 11 files and makes your computer ready to start the install.
You can use the Media Creation Tool from Microsoft or other software. Each has its own benefits, depending on what you need.
Using the Media Creation Tool
The Media Creation Tool is from Microsoft. It’s easy and reliable to use.
- Download the Media Creation Tool from Microsoft’s official website.
- Run the tool and accept the license terms.
- Choose the “Create installation media (USB flash drive, DVD, or ISO file) for another PC” option.
- Select the language, edition, and architecture for Windows 11.
- Choose “USB flash drive” as the media to use.
- Select your USB drive from the list of available drives.
- The tool will then download the necessary files and create a bootable USB drive.
Advantages of using the Media Creation Tool:
- Officially supported by Microsoft.
- Easy to use, with a simple interface.
- Automatically downloads the latest version of Windows 11.
Alternative Software Options
There are other tools to make a bootable USB drive. Rufus and UNetbootin are popular choices.
| Software | Ease of Use | Features |
|---|---|---|
| Rufus | High | Supports multiple ISO files, customizable options. |
| UNetbootin | Medium | Supports various Linux distributions and Windows. |
| Media Creation Tool | High | Official Microsoft tool, easy to use, latest Windows version. |
As
“The best way to get started is to quit talking and begin doing.”
Making a bootable USB drive is easy with the right tools and patience.
Configuring Your BIOS/UEFI Settings
To start installing Windows 11 via USB, you need to change your BIOS/UEFI settings. This lets your computer use the USB drive to start up. You’ll need to get into your computer’s BIOS/UEFI settings and make the USB drive the first choice.
Accessing BIOS/UEFI
To get into your BIOS/UEFI settings, press a special key when your computer starts. This key is different for each computer maker. You’ll see a message telling you which key to press.
After you get into the BIOS/UEFI settings, look for the boot options. The way to get there can change a lot between different versions.
Changing Boot Order
To change the boot order, find the “Boot” or “Boot Order” section. Here, you’ll see a list of devices your computer can start from. Follow the on-screen instructions to make the USB drive the first choice.
The table below shows common keys for getting into BIOS/UEFI and who uses them:
| Manufacturer | Key to Access BIOS/UEFI |
|---|---|
| Dell | F2 or F12 |
| HP | F10 or Esc |
| Lenovo | F2 or Fn + F2 |
| Asus | F2 or Del |
After you change the boot order, save your changes and leave the BIOS/UEFI settings. Your computer will restart and use the USB drive to start. This lets you start the Windows 11 installation.
Booting from the USB Drive
After making a bootable USB drive, you need to start your computer from it. You must change your computer’s settings to make the USB drive the first choice.
How to Boot Your Computer from USB
To start from the USB drive, do these steps:
- Restart your computer with the USB drive in.
- Enter the BIOS/UEFI settings by pressing a key during start-up (like F2, F12, DEL, or ESC).
- Navigate to the Boot Options and pick the USB drive as the first choice.
- Save the changes and leave the BIOS/UEFI settings.
When you set the USB drive as the first boot, your computer will restart. It will start loading Windows 11 from the USB drive. You’ll see the Windows 11 setup screen, showing you’re on the right path.
Key Steps to Boot from USB:
- Restart your computer with the USB drive in.
- Enter BIOS/UEFI settings.
- Change the boot order to make the USB drive first.
- Save changes and exit.
Troubleshooting Boot Issues
Sometimes, you might face problems while booting from the USB drive. Here are common issues and how to fix them:
| Issue | Solution |
|---|---|
| USB drive not detected | Make sure the USB drive is in right and try another USB port. |
| Boot order not changing | Double-check that you saved the changes in BIOS/UEFI settings. |
| Computer not booting from USB | Check if the USB drive is bootable and remake it if needed. |
If problems keep happening, look at your computer’s manual or call the maker’s support for help.
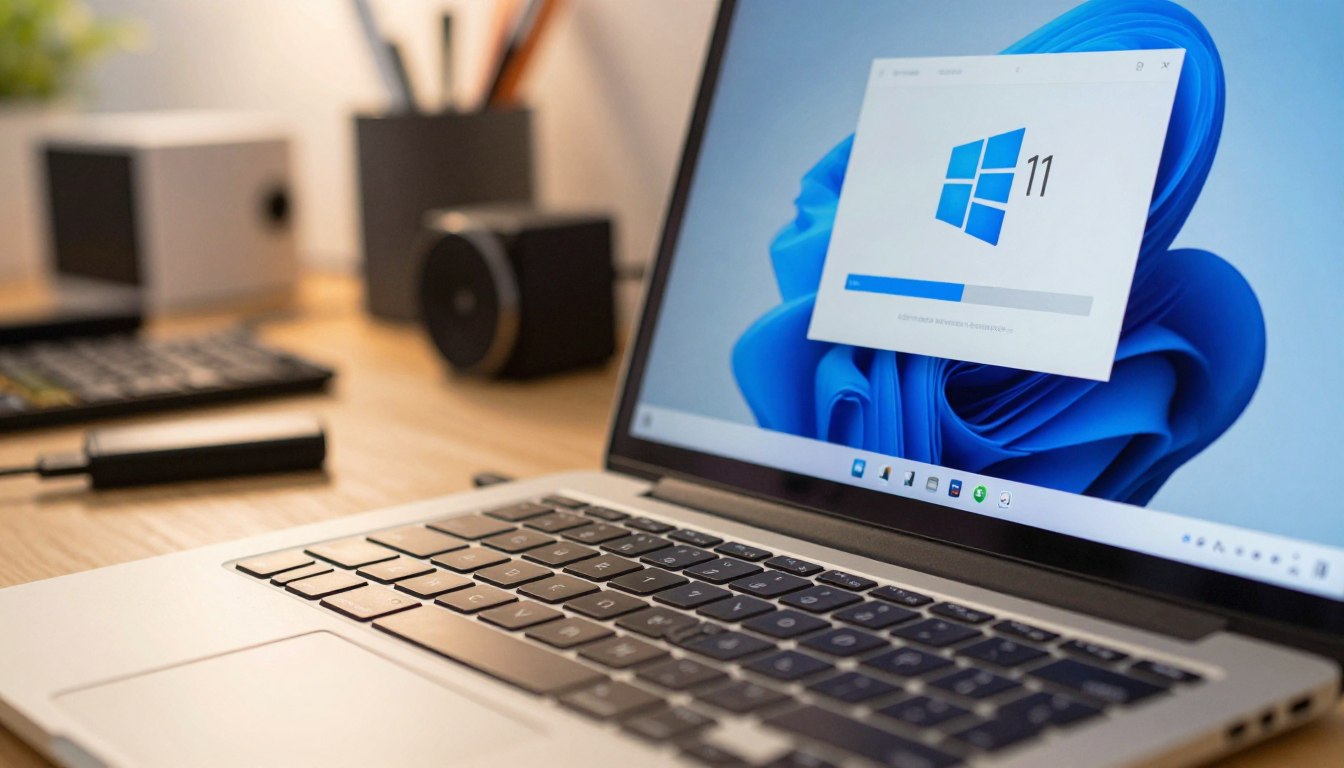
Installing Windows 11
Now that your USB drive is ready, you can start installing Windows 11. This step is important for a smooth setup.
Step-by-Step Installation Process
First, boot your computer from the USB drive. After booting, you’ll see the Windows 11 setup screen. Follow the on-screen instructions to pick your language, time, and keyboard settings.
Then, you’ll need to enter your Windows 11 product key. If you’ve had Windows 11 before, you might not need to enter it right away.
Choosing the Right Installation Type
You’ll have two choices: upgrade or custom installation. An upgrade keeps your files and settings. A custom installation gives you a fresh start.
For a custom installation, choose where to install Windows 11. Make sure to back up your important data first.
- Select the right installation type for you.
- Follow the prompts to finish the installation.
Activating Windows 11

To use Windows 11 fully, you need to activate it. There are easy ways to do this. Activation checks if your Windows is real and not used too many times.
Using a Product Key
A product key is a 25-character code for Windows activation. If you bought Windows 11 from Microsoft or a trusted store, you got a key. Here’s how to use it:
- Go to Settings > Update & Security > Activation.
- Click on Change product key and enter your 25-character product key.
- Follow the prompts to finish the activation.
For a real product key, check Yoursoftwarekeys.com.
Digital License Activation
Digital license activation is great if you’ve had Windows before. It links your device to your Microsoft account. This makes reactivating Windows 11 easier if you reinstall it.
To activate with a digital license:
- Make sure you’re logged in with your Microsoft account.
- Go to Settings > Update & Security > Activation.
- If your device is eligible, Windows will activate by itself.
Activating Windows 11 unlocks its full power. It also means you get updates and security patches from Microsoft. This keeps your device safe and current.
Post-Installation Setup
Now that you’ve installed Windows 11, let’s get started with the setup. This will help your new system run smoothly and safely.
Initial Configuration Steps
The first steps are important. You need to set up your user account and preferences.
- Set up your user account, including creating a username and password.
- Configure your privacy settings to control what data is shared with Microsoft.
- Choose your update preferences to keep Windows 11 up-to-date.
Then, you’ll customize your Start menu and taskbar. You can pick what features to use or not.
Installing Drivers and Updates
After setting up, make sure your hardware works right by installing drivers.
- Open Device Manager to check for any devices with missing drivers.
- Visit the manufacturer’s website to download and install the latest drivers for your hardware.
- Use Windows Update to check for any available updates for Windows 11 and install them.
It’s key to keep your drivers and system updated for security and performance.
| Task | Description | Importance Level |
|---|---|---|
| Setting up User Account | Create a user account and set preferences. | High |
| Configuring Privacy Settings | Control data shared with Microsoft. | Medium |
| Installing Drivers | Ensure hardware devices work properly. | High |
| Updating Windows 11 | Keep the OS updated for security and features. | High |
Final Tips for a Smooth Windows 11 Experience
Now that you’ve installed Windows 11, it’s time to make it better. To get the most out of it, try a few key tips.
Software Essentials
Adding important software can make Windows 11 better. Start with antivirus from Norton or McAfee to keep your system safe. You might also want Microsoft Office or Google Chrome for work.
Maintenance Best Practices
Keeping your system in top shape is key. Always update Windows and your software for the latest security. Also, back up your files with OneDrive or Google Drive.
By following these tips and adding key software, you’ll have a great computing experience.